
Hello everyone!
In today’s post, I’d like to tell you how to get strong and natural tan. Would you like to discover my tricks and learn what are my go-to products? OK, let’s get started!
Tan. What is it?
I’ll allow myself to start off with a fun fact that many of you might not know about. What is tan? One may say it’s darkened skin tone that appears after sunbathing. Of course, this is all true, but I’d like to elaborate on that. Natural tan is, in fact, the defense system of our body! However, to understand what this is all about, you need to become familiar with how our skin functions.
Long story short: our skin consists of special cells that produce melanin (a dye responsible for the skin color that absorbs UV radiation) – if the sun is too strong, the body activates the defense system, i.e. produces more dye to protect the deep layers of skin against the harmful effects of the sun. The darker the skin, the better the UV protection.
Natural vs. fake tan
From what I have mentioned before, another important issue arises. Natural tan skin looks really beautiful, yet it is very unhealthy. It always appears as a result of harmful UV radiation on the skin. The same applies to tanning studios because the lamps installed in the tanning beds emit the same type of radiation to cause the effect of a tan. Hunting for a natural tan has so many drawbacks because it badly affects the health of the skin and accelerates the aging process, which, in natural conditions, would appear much later and at a slower pace.
The advantage of fake tan is that it does not harm the skin like UV radiation. Although, it also depends on what product you choose. Seemingly harmless leg makeup can also contain substances that may adversely affect the skin in the long term. Or they can irritate it, which also happened to me.
Airbrushed legs – advantages
- Gives the skin a tanned look in just seconds, immediately after application.
- Quickly mask skin imperfections, eg small spiders, bruises, discolorations.
- Helps to align your natural tan to be uniform throughout your body.
- They often also contain additional ingredients that illuminate the skin.
- They are much safer for the skin than sunbathing or using a tanning bed.
- Allos you to you get a tan quickly and at any time, anywhere.
Leg makeup – downsides
- Unfortunately, they can stain your clothes (no worries, the stains are easy to wash).
- The shade must be carefully selected so that the effect is not exaggerated.
- If applied inaccurately, it leaves stains on the skin and can create streaks.
- May contain substances that irritate the skin.
- The effects disappear rather quickly and you must use them on a regular basis to keep up the effects.
What I like leg makeup for?
It gives me some kind of freedom and self-confidence. Even when I do not have time to sit in the sun and get a natural tan, and whenever the aura doesn’t allow catching golden reflections on the skin. Also, it’s very easy to use, I just spray my legs with the product, spread it evenly all over the skin and … that’s all. Full independence, full freedom and confidence that I gain in the blink of an eye. That’s what this cosmetic gives me.
But that’s the end of my admiration. Time for specific information.
How do airbrushed legs work?
The product changes the color of the skin which is why the effect is so quickly visible. However, the substances contained in such a cosmetic do not reach the deep layers of the skin and change only the color of the epidermis. This one is regularly exfoliated, hence short-term effects. Also, the results are easily washed down with showers, baths, peels.
How to use airbrushed legs?
- First of all, we have to choose the right shade. They usually come in several colors – from lighter to very dark. We should choose a color that is different from our natural shade of skin by several tones. However, keep in mind that too drastic difference in color can cause that after applying such a self-tan we will look strange.
My word of advice: I always collect a few samples before I buy and I test the colors at home. - An important step is also the preparation of the skin before self-tanning. The two basic activities are, of course, peeling and depilation – outgrown hair and unexfoliated epidermis can hinder the even application of the product, which results in less natural effects. The substances in the product can also color the hair, making them more visible. However, dead skin cells, which we will not remove before using the self-tanner, will reduce the durability of the effects.
- Only now, we can we go to the final stage, that is, to apply the product. First of all, it is best to apply the cosmetic to the palm of your hand or directly to a specially designed self-tanning glove. Then, evenly and accurately spread it all over the selected part of the body – with circular motions, thoroughly rubbing the product so that it is nowhere in excess. Well-distributed leg makeup looks very natural.
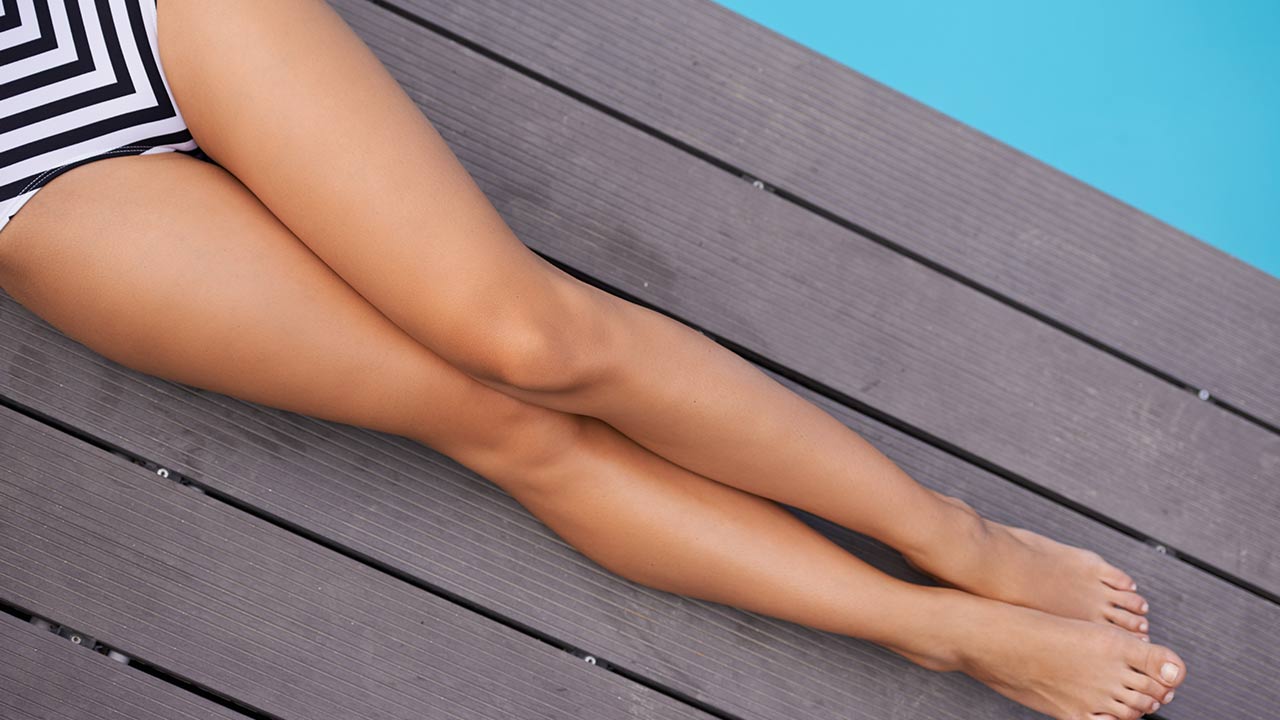
See for yourself!
Leave a Reply